8 Steps to Get a Swamp Cooler Ready for Summer
April 16, 2021 4:51 pmThe summer months are going to be hot and dry. It’s all the more reason to ensure that your swamp cooler is working efficiently. As you get ready to run your evaporative cooler nonstop to maintain a comfortable temperature, there are some steps to get your unit prepared for that kind of use.
8 Steps to Get a Swamp Cooler Ready for Summer
Just as there were steps to follow to get your swamp cooler ready for the winter, you’ll want to take steps to prepare it for the summer. Each step is important, so you shouldn’t skip anything.
Step 1: De-Winterize
Before you can truly get your swamp cooler ready for the summer, you’ll have to de-winterize it. You may have used a cover or tarp on the unit to protect it from the cold. This will need to be removed. Now is a good time to inspect it for holes or rips. If it’s damaged, get a new one in anticipation of next winter. Otherwise, store it away until it’s time to winterize again.
Step 2: Remove the Casing of the Cooler
All three sides of the swamp cooler should be removed. Look for clips that are used to keep the panels in place. Often, the clips are rotated so they can be released. Be sure to note where each panel is so that you can get them back on later.

Step 3: Clean the Inside of the Unit
If you covered your unit during the winter, there shouldn’t be much to clean. Simply wipe it all down with mild soapy water.
If your swamp cooler was uncovered, however, you’ll want to use a shop-vac to get at the dead leaves and other debris that is found around the vents and chambers. A wet rag can also be used to get the dust that has settled into the corners and hard-to-reach areas.
A descaling agent that is suitable for evaporative coolers may need to be used, especially if there is a considerable amount of mineral buildup.
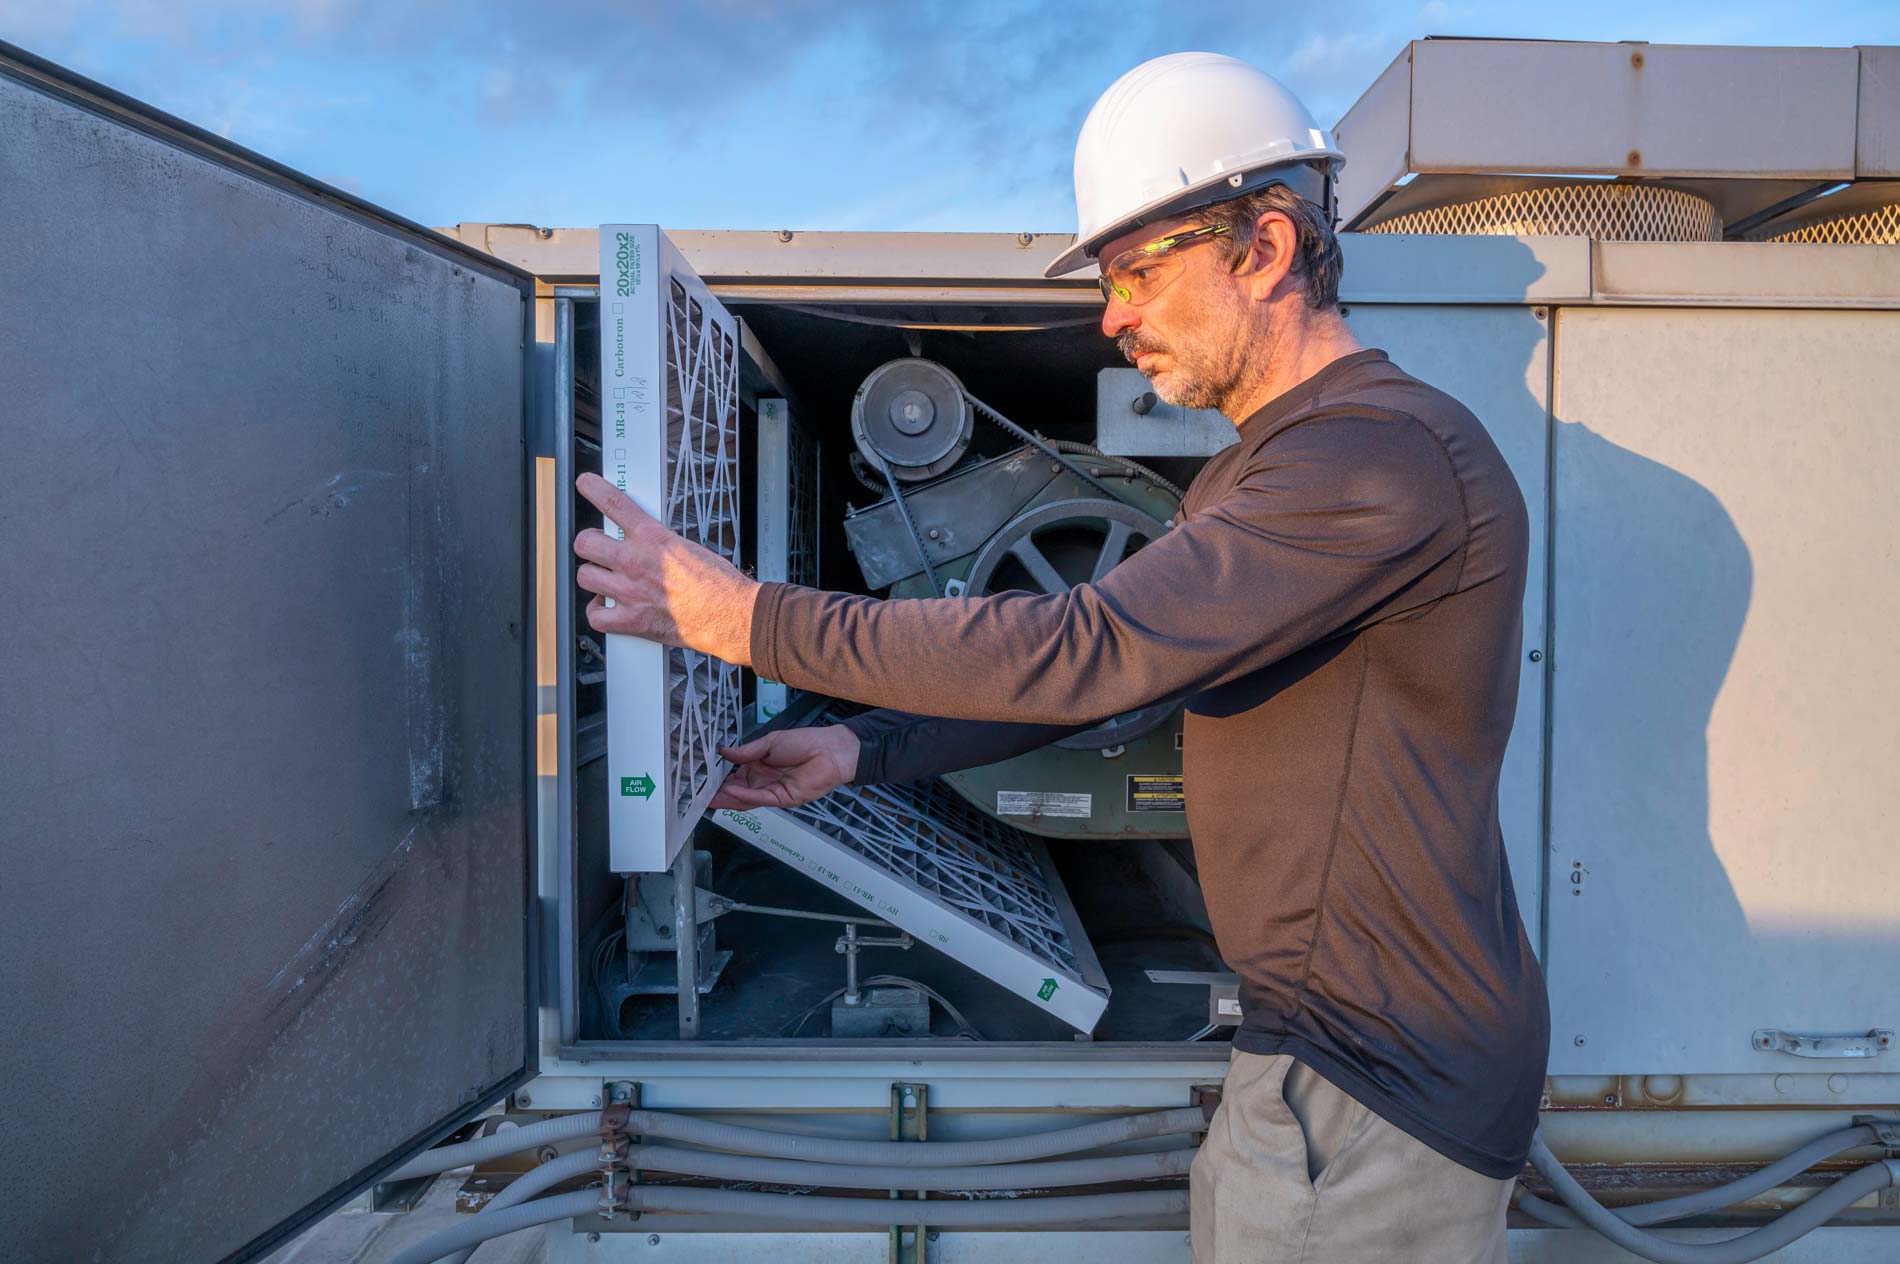
Step 4: Replace the Filter
The filter is typically replaced once a year. You can choose to replace it during the winterization or the de-winterization process. If you have already replaced it and the filter is still in good condition, leave it alone. If you haven’t replaced it, you’ll want to. Otherwise, the minerals in the water will harden the filter, making it hard to absorb the water as needed.
Step 5: Connect the Water Hose
Prior to the cold weather approaching, you likely disconnected the water line to avoid issues. Now, you’ll want to get the hose connected back to the water supply valve and the cooler unit. You’ll want to use pliers to get a tight fight.
Additionally, secure the drain plug so that you don’t encounter a water leak.
Step 6: Inspect for Leaks
Once you’ve got water running through the system, look for leaks along the water line as well as inside of the cooler pan. If a pipe is punctured or broken, you’ll notice water right away. Smaller leaks may be harder to detect.
You may also have to adjust the drain plug tighter if you notice water in the pan. If you find that water is overflowing in the pan, adjust the float valve. If adjusting doesn’t take care of the problem, the valve may need to be replaced.
While you’re inspecting for leaks, you should also check for rust (a sign there may be a leak somewhere that you can’t see). It’s also a good idea to check the belt that turns the motor. If there are cracks, you should think about replacing the belt so that it doesn’t snap as the weather gets hotter.
Step 7: Run a Complete Systems Check
You’ll want to run the swamp cooler to ensure that everything is running properly and that a cool temperature can be achieved.
Lubricate the motor by adding oil. The owner’s manual will tell you how to accomplish this. Depending on the model of your evaporation cooler, other components may have to be lubricated, too.
Fill the water tank and reconnect the power supply. Be sure that your water pump is working properly and wetting the pads. Be sure that the blower is working and can be adjusted. Use the thermostat to be sure that a desirable temperature is being achieved within minutes of everything running.
If you notice that anything is leaking or not working the way it should, there’s time to call a professional. After all, it’s better to get your unit summer-ready now so that you can get repairs completed before the hottest days arrive.
Step 8: Replace the Casing
Once you’ve checked everything and the system is running properly, reassemble the cooler by snapping the panels back into place. If any clips break, you’ll want to replace them. Otherwise, the internal workings of your cooler will be exposed to too many of the elements.
Get the Best Swamp Cooler for Your Space
Your swamp cooler will only work as well as the way you care for it. Working with professionals who understand the various components of an evaporative cooler can help. At Premier Industries, Inc., we offer quality swamp cooler units as well as replacement pads. Contact us today to speak with a member of our team and learn how you can use a swamp cooler to keep your home comfortable all year long.
Categorised in: Swamp Cooler
This post was written by Mike Nicolini